
1. Understand the Requirements
● Material Properties: Know the type of metal being used (e.g., aluminum, steel, stainless steel) and its thickness, ductility, and tensile strength.
● Part Design: Analyze the geometry of the part, including depth, diameter, and corner radii, to determine the required force and tooling.
● Production Volume: Decide whether the setup is for prototyping, low-volume, or high-volume production.
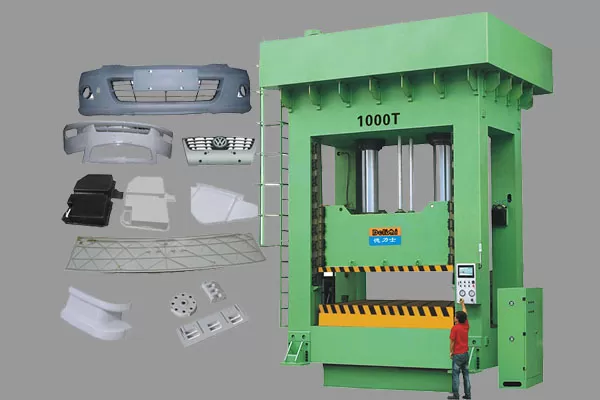
2. Select the Right Hydraulic Press
● Tonnage: Choose a press with sufficient tonnage to handle the deep drawing process. The required force depends on the material, part size, and depth of draw.
● Stroke Length: Ensure the press has enough stroke length to accommodate the depth of the part.
● Bed Size: The press bed should be large enough to hold the tooling and workpiece.
● Control System: Opt for a press with precise control over speed, force, and dwell time to ensure consistent results.
3. Design and Fabricate Tooling
● Die and Punch: Design the die and punch to match the part geometry. Use high-quality tool steel or carbide for durability.
● Clearance: Ensure proper clearance between the punch and die to account for material thickness and prevent cracking or wrinkling.
● Surface Finish: Polish the tooling surfaces to reduce friction and improve part quality.
● Blank Holder: Use a blank holder to control material flow and prevent wrinkling during the drawing process.
4. Prepare the Material
● Blank Size: Cut the metal sheet to the correct blank size, accounting for material stretch and shrinkage.
● Lubrication: Apply a suitable lubricant to reduce friction between the tooling and the material, improving formability and extending tool life.
● Material Annealing: For deep or complex draws, consider annealing the material to soften it and improve ductility.
5. Set Up the Press
● Install Tooling: Securely mount the die, punch, and blank holder in the press, ensuring proper alignment.
● Adjust Parameters: Set the hydraulic press parameters, including:
● Force: Adjust the tonnage based on the material and part requirements.
● Speed: Control the drawing speed to avoid tearing or wrinkling.
● Dwell Time: Set the dwell time at the bottom of the stroke to ensure proper forming.
● Test Run: Perform a test run with a sample blank to check for issues like wrinkling, tearing, or misalignment.
6. Monitor and Optimize
Inspect Parts: Regularly inspect parts for defects such as cracks, wrinkles, or uneven walls.
Adjust Parameters: Fine-tune the press settings and tooling as needed to improve part quality.
Maintenance: Keep the press and tooling well-maintained to ensure consistent performance.
7. Safety Considerations
Guarding: Install safety guards to protect operators from moving parts.
Training: Ensure operators are trained in safe press operation and emergency procedures.
Regular Inspections: Check the press and tooling for wear or damage before each production run.
8. Troubleshooting Common Issues
Wrinkling: Increase blank holder force or adjust lubrication.
Tearing: Reduce drawing force, improve lubrication, or anneal the material.
Misalignment: Check and realign the tooling.
By following these steps, you can set up a deep drawing hydraulic press for optimal performance and high-quality results. Proper planning, tooling design, and process control are key to success in deep drawing operations.
 +86-769-8306-1993
 E-mail
