
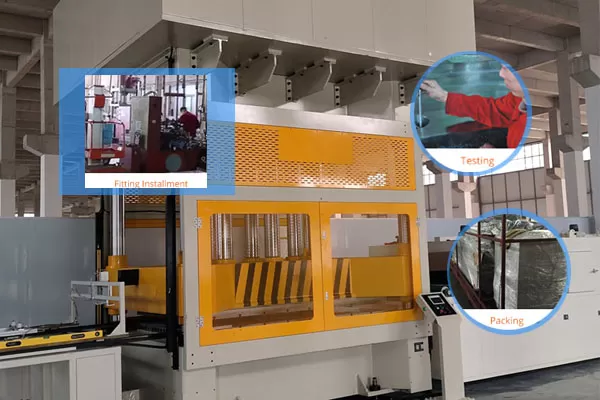
Goodsjack has worked hard on refined management and specially hired a professional refined management consulting agency to provide on-site guidance, resolutely achieving lean production, and unqualified products will not leave the factory. The pre-delivery process for hydraulic press manufacturing involves a series of quality checks and preparations, including testing, final inspections, and ensuring all components are correctly installed and functioning, before the press is shipped to the customer. Following is an assembly process from us.
1. Check whether all parts of the assembled product are complete and whether there are quality inspection qualified marks. According to the requirements of the drawings, pick up the required parts, hydraulic parts, seals, electrical parts, motors, etc.
2. Before assembly, pay attention to carefully check the drawings to avoid picking up the wrong parts. During the assembly process, pay attention to the fit of each component and work carefully.
3. Clean and install the required rack, use a measuring tool to measure the size of the required panel at the position where the panel needs to be installed on the rack, and then cut the material, match the holes, and tap the teeth. Note: Each hole should be chamfered, burrs should be removed, and iron chips in the hole should be cleaned.
4. Open the motor mounting hole, valve plate mounting hole and cleaning hole on the oil tank panel on the rack where the product needs to be installed, polish it clean and spray it with anti-rust paint.
5. Use diesel to clean the oil cylinder, piston rod, piston and cylinder head, remove burrs, and check whether the finish and size are consistent with the drawings. (Note: When installing the oil cylinder, you cannot work with gloves to avoid bringing iron chips into the oil cylinder. When the piston is installed in the oil cylinder, lubricate it. After the oil cylinder is installed, pull the piston and check carefully whether the piston moves stably in the oil cylinder. When installing the cylinder head, pay attention to installing the screws with the diagonal line of the cylinder head, and tighten the connecting screws with uniform force.)
6. Clean the beam plate, and remove burrs and chamfers for each hole and edge of the beam plate. When installing the column, first check the finish and the requirements on the drawing, then match the nuts, install the composite sleeve of the middle beam, and then use a crane to lift the column vertically through the middle beam plate to install it into the lower beam, and then install the dust ring and dust cover. When installing the upper beam and the oil cylinder, the height of the column positioning nut must be balanced, and the upper beam and the upper oil cylinder can be installed on the frame. When installing the attached oil tank, first connect the positioning angle iron to the upper beam plate, then position the attached oil tank, open the oil suction hole of the filling valve, install the filling valve and the oil suction pipe, and then weld the attached box and the connecting angle iron. The welded position should be polished and sprayed with anti-rust paint. When installing the return oil pipe from the attached oil tank to the rack oil tank, pay attention to: measure the size accurately and the return oil pipe is 90 degrees vertical to the oil tank.
7. Clean the valve plate. When cleaning, polish the burrs inside and outside each hole on the valve plate and clean out the iron slag. Then recheck whether there are any places that are not cleaned properly. When installing the joints on the valve plate, be sure to wrap enough sealing raw tape and sealant. When installing the hydraulic valve, refer to the oil circuit diagram and install each hydraulic valve in the correct direction.
8. The assembled machine must undergo a 24-hour test run and confirm that it is correct before entering the shipping procedure.
Goodsjack embodies their meticulousness and rigor in the product, just for you as a customer to get a reliable hydraulic press. A complete assembly process, can you imagine that your hydraulic press has gone through so many processes before leaving the factory?
 +86-769-8306-1993
 E-mail
